Hello friends,
Just enjoying a cup of joe and realized it has been a while since we’ve blogged!
For those that have been following our facebook and twitter, you have already seen the sneak peek of Michelle and Jeff’s summer wedding from the amazing Bonnie Tsang! Seeing the snippets of this beautiful couple’s wedding makes me feel all giddy again.
We’ve had some people ask us about the chandelier and can’t wait to show you the rest of the photos with more images of the DIY chandelier and garlands. As for now, for those that were curious and asking, we wanted to show you how we made the chandelier, so you can make one for yourself! Not only is it beautifully ethereal, but cost efficient as well (and who doesn’t like that)!
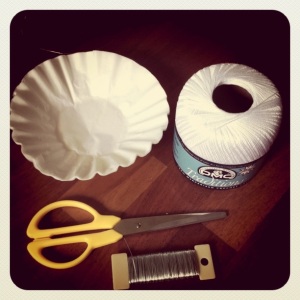
Materials:
coffee filters, string, scissors, wire, thick needle
Additional Materials: paint, something to paint on
Directions:
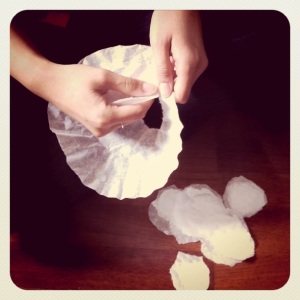
1. Tear out circles of various sizes, which will be our “petals” *tearing by hand looks a lot prettier than using scissors since it gives the petals softer edges
2. Spread the circles out on a board or paper (you can even recycle and use a paper bag that is opened up)
3. “Paint” the petals to your preferred color choice *we use the term “paint” loosely; it looks better for each petal to look a little different, so some may have more paint than others. You can even mix it up with non painted petals or different colored petals too
4. Cut a piece of string to your desired length. For the chandelier we had four different lengths
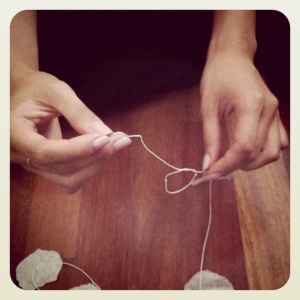
5. Tie a knot at one end and string a needle to the other. Begin stringing petals…
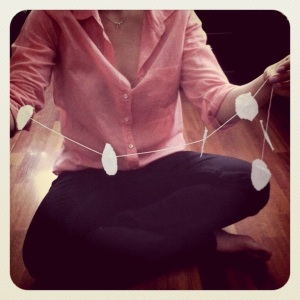
6. Between each petal, create some space and make a loose knot before stringing another petal. Where you make the loose knot is where the petal will sit and the various amounts of space in between depends on the look you are going for *keep in mind that the more knots you make, the shorter your string becomes and don’t worry the loose knots will naturally tighten
For the chandelier, we wanted to make the bottom of the garland sparse and heavier on top… so less space in between each petal on top and a lot of space in between on the bottom
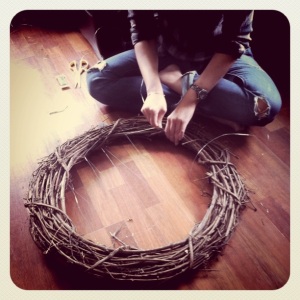
7. Once enough garlands have been made, find, create or purchase something sturdy that can be used as a frame. We wanted a circular frame made out of branches and twigs. You can either make your own or purchase one at your local hardware or craft store.
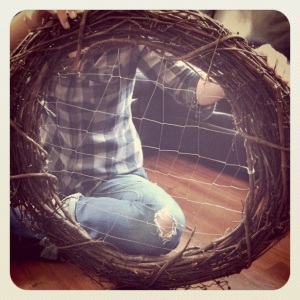
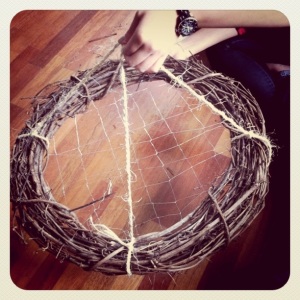
8. Crisscross the wire onto the frame
9. Our frame did not have a hook, so we tied four pieces of twine to the frame to allow for it to hang. On the wire latticework, tie the garlands to your desired fullness and shape…. and voila!
You can even use the garlands as a nice backdrop, which is what we did for Michelle & Jeff’s wedding as well as Joyce & Danny‘s wedding back in November. Garlands are not only beautiful for weddings, but any display!
Random: Anthropologie had a recent window display of cascading circles. The garlands used clear string/fishing wire, different colored cardstock (instead of painted coffee filters) and a hot glue gun (instead of making knots). Playing with colors, lengths and the fullness of the garland changes the look so much!
[photo credit: i heart interiors]
Same concept but the materials we used were a lot less expensive although a bit more laborious!
Whatever materials you use, we love that garlands can be manipulated to create various looks and always looks so stylish!
And just for fun, doesn’t this Jim Hjelm wedding dress remind you of the garland petals?


